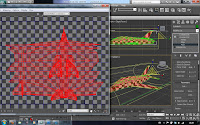
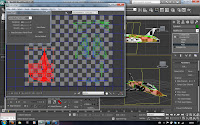
I had an extreme amount of difficulty with the materials. To begin, i applied a chequered design to the object to see how the material wraps around the object. Unwrap UVW was used to try to make the tiles equally proportioned around the plane.


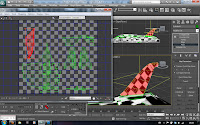
I finally arrived at something acceptable. Having selected the faces of the circular body, and seperated them from the mesh on the unwrap uvw map, i was able to identify individual portions of the mesh. On the wings, the tiles were still stretched but being totally red, I needn't have fixed this, it would only have been a waste of time. The tail however has a tri-stripe design on it, so this did need fixing. Identiying the seperate portion of the mesh and moving it to a different part of the bitmap (below) allowed me to see to this.


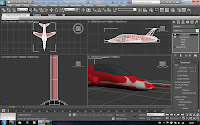
Applying a planar orientation to the tail faces has corrected the problem. I have then saved the actual material used as a compressed psd file and applied it to the mesh so I could see it updated regularly. I did have a few problems, such as the faces being overlapped and inverted, but after hours of playing I got nowhere. I decided to just settle for what I had, because I could just make the camera for the animation a tad further away and the plane move faster. As long as it looks sort of right...
No comments:
Post a Comment